Atmel START Workflow
A Worked Example
Introduction
This page demonstrates how Atmel START and Atmel Studio fit
together to offer a complete embedded development workflow. Atmel START is
used to generate a project that is then exported to Atmel Studio.
Workflow steps:
-
Follow the first three steps described on the
Atmel Integrated Development Workflow
page to install Atmel Studio, Atmel Studio plug-ins, and, if using
an Xplained board, have Atmel Studio auto-detect connected
hardware.
Workflow steps continued:
-
If the board you plugged into your host computer in step #1 is
supported by Atmel START, then you will see a "New Atmel START Project..."
link on the page that opened when the hardware was detected.
Click the link to open a web page that shows
project selections that are specific to the attached hardware.
If the board you plugged into your host computer is a custom board,
or is not supported by Atmel START, then refer to the
the Atmel START information page
to see how to start a new Atmel START,
project and configure the project for your microcontroller and
hardware.
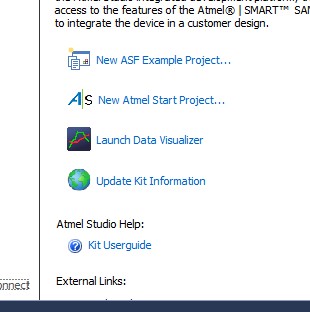
The "New Atmel START project..." link
After the microcontroller has been selected the hardware and software can
be configured. Further, if you opened one of the
example projects available within the Atmel START tool, then the software
required to run the example will already be set up.
Workflow steps continued:
-
Select the PINMUX tab, and configure the pin names and function.
If you are using an Xplained Pro or Xplained Ultra board then
the pins will already be set correctly for the connected hardware.
-
Select the clocks tab, and configure the clocks to be correct for
your hardware and the peripherals in use.
If you are using an Xplained Pro or Xplained Ultra board then
the clocks will already be set correctly for the connected hardware.
-
Click the Dashboard tab to select and then configure the
required middleware and drivers.
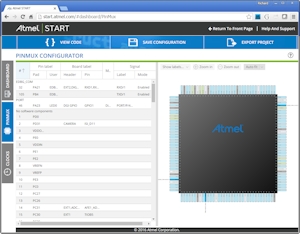
Pin names and functions, configured correctly for
the SAMV71 XPlained Ultra board. Click to enlarge
|
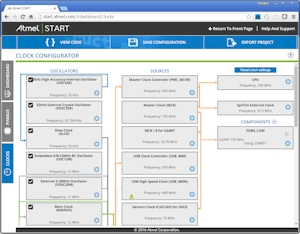
Clocks, configured correctly for the SAMV71
Xplained Ultra board. Click to enlarge.
|
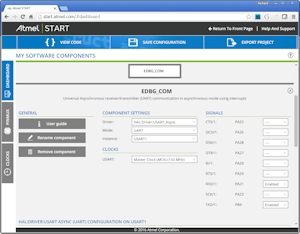
The EDGB UART configuration seen on the Dashboard tab
Click to enlarge
Once complete, the Atmel START project can be exported for use with your
preferred compiler.
Workflow steps continued:
-
Click "Export Project".
-
On the Export page, select the IDE you wish to use, and give
the project a name.
-
Click Download Pack. A file that has an .atzip
file extension will be generated - save the file into a
convenient location on your computer.
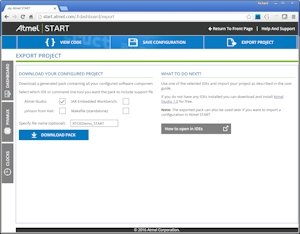
Exporting the Atmel START project as a .atzip file.
Click to enlarge
If the Atmel START project was exported as an Atmel STUDIO project then
follow the steps below to import the project into the Atmel Studio IDE.
Workflow steps continued:
-
Select the "File->Import->Atmel START Project" menu item in the
Atmel Studio IDE.
The Import Atmel START Project window will appear.
-
Complete the fields in the Import Atmel START Project window
to select the .atsln file exported in the previous step, set the
project and solution name for the project being generated, and
set the directory in which you would like the project to be
located.
The exported project will be opened and can then be built and
debugged as described on the
Atmel Integrated Development Workflow
page.
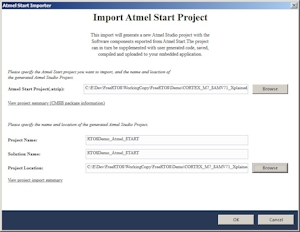
Importing the Atmel START project into
Atmel Studio. Click to enlarge
|
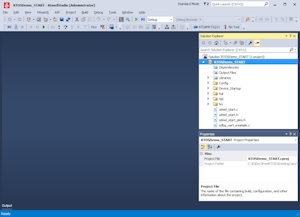
The project after importing into Atmel Studio.
Click to enlarge
|
Copyright (C) Amazon Web Services, Inc. or its affiliates. All rights reserved.
